Silent Hill 2 Remake: Unlocking the Mysteries of Brookhaven Hospital
Brookhaven Hospital in Silent Hill 2 Remake is a critical location, brimming with puzzles, eerie atmospheres, and complex challenges. If you’re venturing into this hospital, be ready to face some tricky puzzles, unsettling enemies, and the feeling of isolation that Silent Hill is known for. But don’t worry – we’ve got your back. In this guide, I’ll Walk you through everything you need to know to unlock puzzles, collect items, and keep progressing through the game.

Brookhaven Hospital: Entering the Nightmare
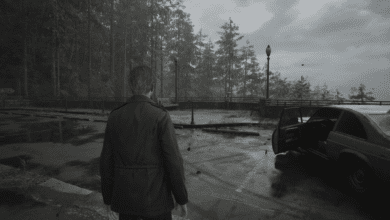
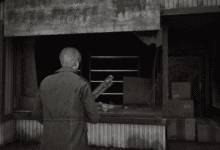
Upon arriving at Brookhaven Hospital, James is following Laura, a mysterious girl with ties to his deceased wife. From the moment you step through the doors, you’ll realize this is no ordinary hospital. The dark corridors, unnerving atmosphere, and occasional enemy encounters create an overwhelming sense of dread. This is classic Silent Hill at its finest.
You’ll need to navigate several floors within the hospital, each with its own set of challenges and puzzles. Early on, you’ll also be accompanied by Maria, adding another layer of tension as she complicates your journey.
The X-Ray Room Puzzle: Where It All Begins
One of the first major puzzles you’ll encounter is in the X-Ray Room on the third floor. Here, you’ll find a collection of Radiographs (X-rays) that hold the key to solving a puzzle, but not all the pieces are there initially. You’ll need to scour the hospital for the missing Radiograph in order to proceed.

Finding the Missing Radiograph
The missing Radiograph is crucial for solving the X-Ray Viewer Puzzle. It’s hidden somewhere within the hospital, and finding it requires you to complete certain objectives.
Here’s what you need to do:
- Head to the 1st Floor Inner Ward: After collecting the key from the Director’s Office, make your way to the Inner Ward. This is where your search for the missing Radiograph begins.
- Go to the Pantry: Inside the Pantry, you’ll find a Mold Remover. This might not seem important at first, but trust me, you’ll need it soon.
- Deal with the Bubble Head Nurses: As you move through the hospital, be prepared to face off against the infamous Bubble Head Nurses. These enemies are relentless, and you’ll need to take them out if you want to loot the rooms without interruption.
Once you’ve collected the Mold Remover, it’s time to head to the next stage of the puzzle.

The Nurses Station Keypad and Puzzle
After reaching the second floor via the elevator, you’ll come across a Nurses Station with a Keypad. At this point, you might be tempted to input a code, but you’re not ready just yet. Instead, head toward the stairs near the Director’s Office to reach the third floor. This is where things get interesting.
Retrieving the Inner Ward Key and Pelvis Radiograph
Once you’ve entered Exam Room 5 on the third floor, grab the Inner Ward Key from the desk. This will allow you to access other areas of the hospital. But first, head to the X-Ray Room, where you’ll find a Radiograph of a pelvis and the puzzle itself.
Solving the X-Ray Viewer Puzzle
Now that you’ve gathered some of the necessary items, it’s time to solve the X-Ray Viewer Puzzle. Place the Radiographs on the viewer, and you’ll notice certain markings on them. These markings reveal a set of numbers: 4, 37, and 12. These numbers will be essential for solving the next puzzle and unlocking further areas of Brookhaven Hospital.
Cleaning the Moldy Radiograph
Remember that Mold Remover you picked up earlier? It’s time to put it to use.
- Go to the Pharmacy: After dealing with enemies in the garden and pool areas, make your way to the Pharmacy. Here, you’ll find the last Radiograph, which happens to be moldy.
- Combine the Mold Remover and Radiograph: By using the Mold Remover, you’ll clean up the Radiograph, revealing more markings. This will complete the X-Ray Viewer puzzle, and now you have all the pieces you need to proceed.
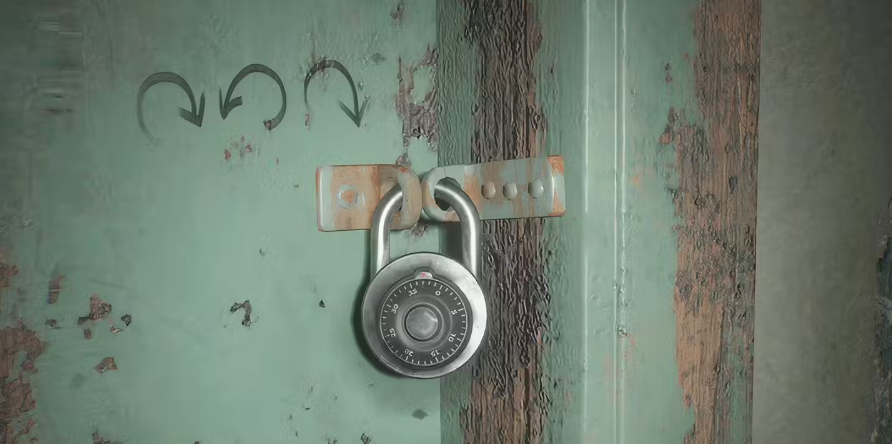
Unlocking Room D1’s Combination Lock
Now that you’ve solved the X-Ray Viewer puzzle, it’s time to head to Room D1. You’ll find a combination lock here, which can be tricky if you’re not paying attention to the markings on the door.
The combination is as follows:
- Turn the lock right to 4.
- Turn the lock left to 37.
- Turn the lock right to 12.
After unlocking the door, you’ll be able to retrieve the Filthy Bracelet from the bed. This item plays a key role in the next puzzle and advancing through the hospital.
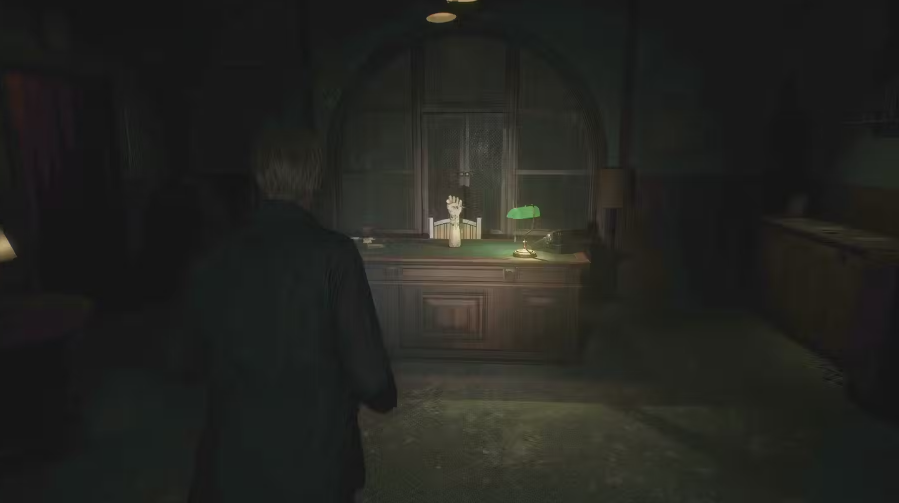
The Director’s Office Puzzle: Unlocking the Safe
Once you’ve acquired the Filthy Bracelet, your next objective is the Director’s Office, where another challenging puzzle awaits. In this room, you’ll find a hand on the desk and a safe on the wall. But getting inside the safe isn’t straightforward you’ll need to solve another puzzle first.
The Bracelet Puzzle
To unlock the safe, you need to arrange the bracelets you’ve collected in the correct order. Here’s the solution:
- Bloodstained Bracelet (92)
- Marked Bracelet (45)
- Filthy Bracelet (71)
Once the bracelets are correctly aligned, you’ll receive the Director’s Storage Room Key, which unlocks a door nearby. Inside the storage room, you’ll find a button, along with several books containing symbols.
Rearranging the Books: The Lion Symbol Puzzle
In the Director’s Storage Room, you’ll need to interact with the books on the shelf. These books are marked with symbols, and your task is to rearrange them so they form the shape of a lion. Once the lion is clearly visible, the symbols will correspond to numbers. These numbers are the final pieces of the puzzle needed to unlock the safe.
What’s Inside the Safe?
Once you’ve solved the lion puzzle and input the numbers into the safe, it will open, revealing the Rooftop Key. Now you can head to the rooftop, but be prepared more enemies and challenges await.
Tackling the Final Challenges: Unlocking the Rooftop
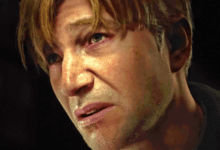
Now that you’ve unlocked the rooftop, the endgame for Brookhaven Hospital is in sight. But before you can escape, you’ll need to complete a few more tasks. One of the final puzzles involves a cutscene with James that provides deeper insight into his story and the dark secrets he’s hiding.
Once you’ve completed the puzzles and collected the necessary items, you’ll be able to leave Brookhaven Hospital and continue your journey through Silent Hill.
Brookhaven Hospital in Silent Hill 2 Remake is filled with puzzles that challenge your mind and enemies that test your reflexes. By following this guide, you’ll be able to navigate its eerie halls, solve its most perplexing puzzles, and ultimately unlock the secrets within.
Remember, while the puzzles may seem overwhelming at first, they’re designed to keep you engaged and immersed in the dark, unsettling world of Silent Hill. So, keep your wits about you, stay calm, and soon enough, you’ll find yourself making your way through the hospital with ease.