Silent Hill 2 Remake: All Strange Photo Locations for the Pieces of Unarranged Trophy
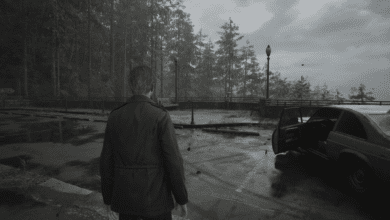
The Silent Hill 2 Remake is packed with mystery, horror, and hidden collectibles that give players deeper insights into James’ haunting journey. One of the most sought-after achievements in the game is the Pieces of Unarranged trophy, which requires players to find all 26 strange photos scattered throughout the eerie world of Silent Hill. These cryptic Polaroids not only contribute to your trophy collection but also provide an obscure, unsettling context to the game’s storyline.
In this detailed guide, we’ll walk you through each location of the strange photos, ensuring you don’t miss any along your way. Whether you’re a completionist or just looking for a more in-depth experience, this guide will help you claim every last strange photo and the Pieces of Unarranged trophy.
Understanding the Strange Photos in Silent Hill 2 Remake
Before we dive into the locations, it’s important to understand what these strange photos represent. They are scattered throughout the town and provide additional context, though cryptic, to James’ journey. Some are easy to find, while others are hidden in obscure areas, making it crucial to search each chapter thoroughly.
South Vale (East) – All Strange Photos
Strange Photo #1 – “I’ve Been Happy”
Your first strange photo can be found early on in South Vale. As you cross Sanders Street and Neely Street, look for the Silent Hill Fresh Meats shop. Smash the glass display area and retrieve the photo titled “I’ve Been Happy” from inside.

Strange Photo #2 – “So Many People Here!”
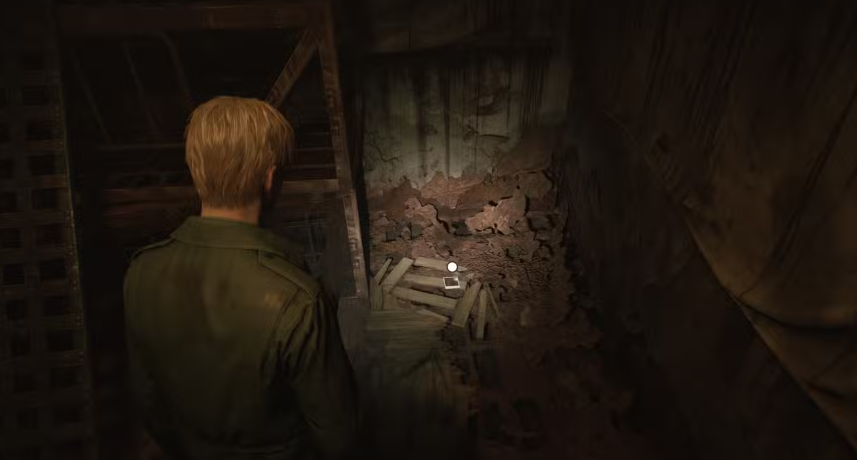
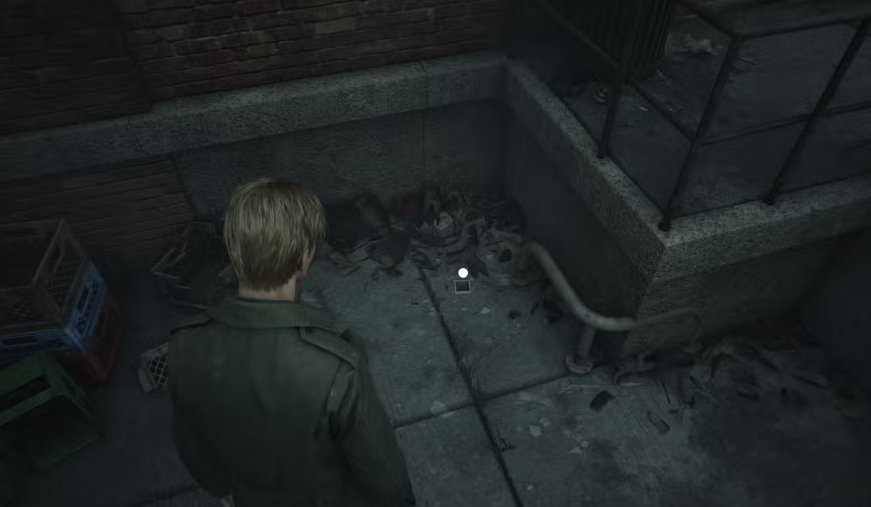
On Katz Street, near the Wood Side Apartments, you’ll find the second photo. Look for a pile of trash and some wooden boards there you’ll discover the photo “So Many People Here!”

Wood Side Apartments – All Strange Photos
Strange Photo #3 – “Valentine’s Day”
When you enter Room 102 of the Wood Side Apartments, look for the third strange photo resting on a dinner tray next to a TV. This photo, titled “Valentine’s Day,” will add to your growing collection.

Strange Photo #4 – “Career’s Humble Beginnings”
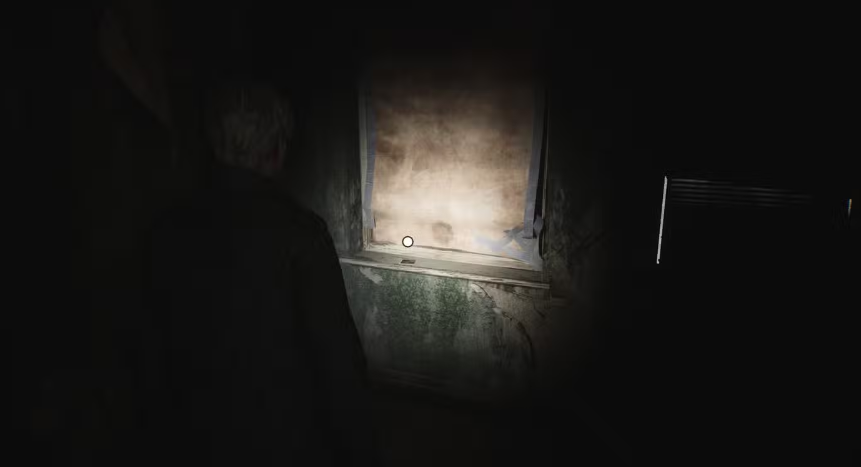
After obtaining the Handgun, head to Apartment 212. Mantle over the balcony and cross into Room 210. Inside, you’ll find the fourth strange photo, “Career’s Humble Beginnings,” resting on the taped-over window ledge.
Blue Creek Apartments – All Strange Photos
Strange Photo #5 – “Forever Together”
Following a cutscene with Angela, you’ll need to unlock the south corridor of 1F using the Key of Resilience. Head down a staircase to find the fifth strange photo, “Forever Together,” on the right at the bottom of the stairs.

Strange Photo #6 – “How the Time Flies”
After solving the Clock Puzzle in Room 212, return to the side room. The room’s state will have decayed, and on the ground to the right, you’ll find the sixth strange photo, “How the Time Flies.”
South Vale (West) – All Strange Photos
Strange Photo #7 – “So Far from Home”
Once you meet Maria in the West Side of South Vale, head to Rosewater Park. The seventh photo, “So Far from Home,” can be found on a seating area to the left of the park.

Strange Photo #8 – “Made It!”
Go through Nathan Avenue and check out Octanis Fuels. Behind the building, you’ll find a car with a Garage Jack Lever. Use this key item on the garage door across from Jacks Inn to lift it. Inside, you’ll find the eighth strange photo, “Made It,” sitting on a red toolbox.

Strange Photo #9 – “Ready to Kill It!”
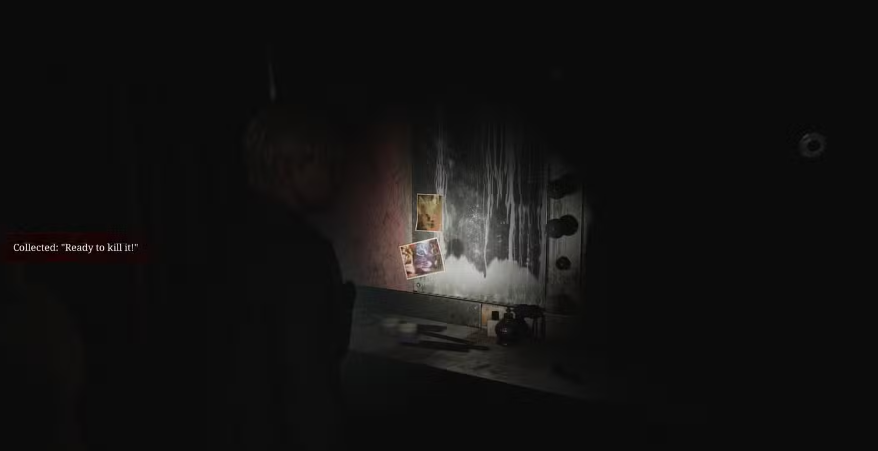
When you and Maria enter the Heavens Night adult bar, go to the dressing room. The ninth strange photo, “Ready to Kill It!,” will be on a wall of mirrors.
Strange Photo #10 – “Church Entrance”
After a cutscene with Maria and James in Moonlight Grove, turn back and head through the south side of the grove. Atop a stone fountain near a bench, you’ll find the tenth photo, “Church Entrance.”

Strange Photo #11 – “Best Flavor!”
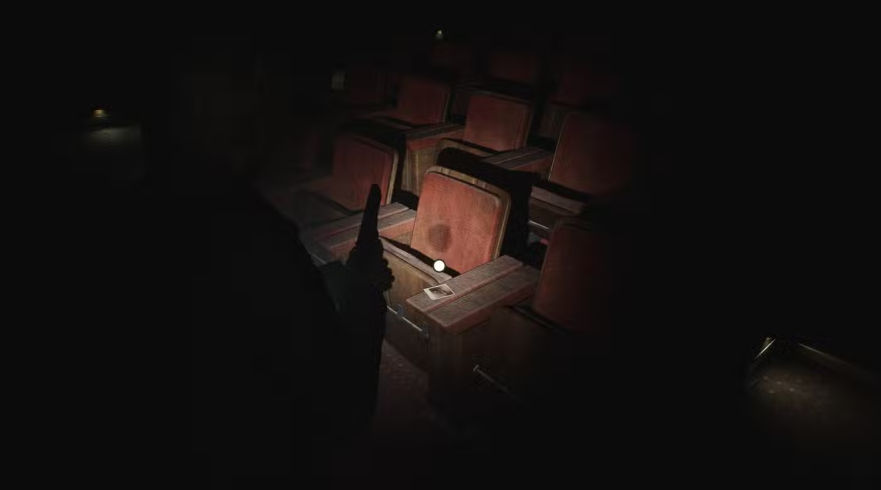
At the Reverie Theater, after a cutscene with Eddie, head to the movie seats behind him. On one of the chairs, you’ll find the eleventh strange photo, “Best Flavour!”
Brookhaven Hospital – All Strange Photos
Strange Photo #12 – “Her Drawings”
On the second floor of Brookhaven Hospital, head to the Nurses Station. There, use a crawlspace to get to Room L3. This will lead to the Observation Room, where the twelfth strange photo, “Her Drawings,” will be on a white desk.

Strange Photo #13 – “At Least She Was There”
After you find the Keypad Combination Note in the Doctor’s Lounge, head to the first floor. In Examination Room 1, open a blue drawer to uncover the thirteenth strange photo, “At Least She Was There.”
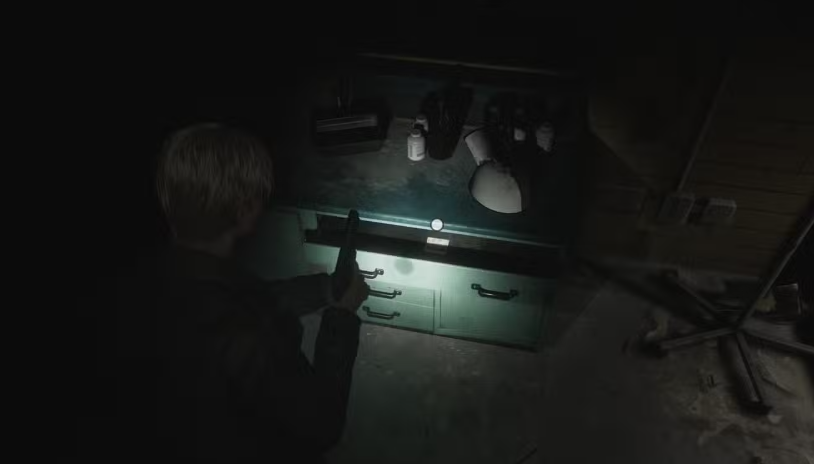
Strange Photo #14 – “No One Knows”
Now in the Otherworld version of the hospital, go to the Observation Room on the second floor. In a bedside drawer in Room C5, you’ll find the fourteenth strange photo, “No One Knows.”
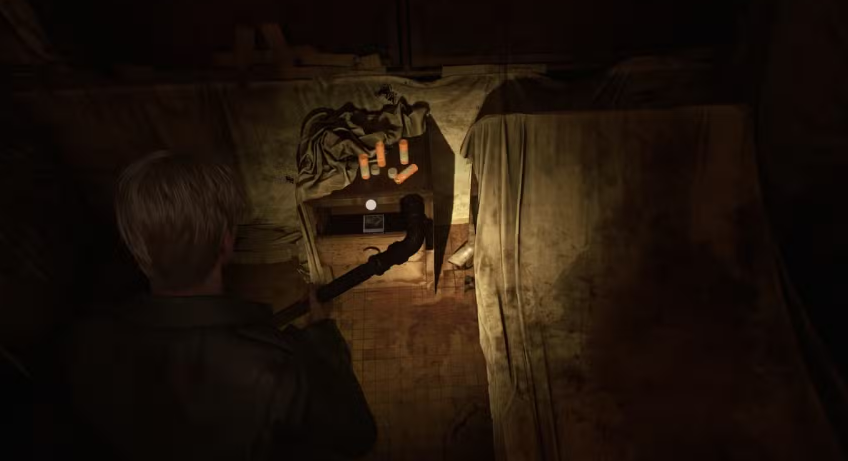
Strange Photo #15 – “They Mustn’t Know”
After reuniting with Maria, head to the Pool area on the first floor of the Otherworld hospital. In the top left corner, near a life ring, you’ll find the fifteenth strange photo, “They Mustn’t Know.”

Strange Photo #16 – “They’re Here”
Once you escape from Pyramid Head, you’ll reach the Otherworld version of South Vale. Head to the Lucky Jade Restaurant on Katz Street and break the window of a parked car. Inside, you’ll find the sixteenth strange photo, “They’re Here.”

Historical Society – All Strange Photos
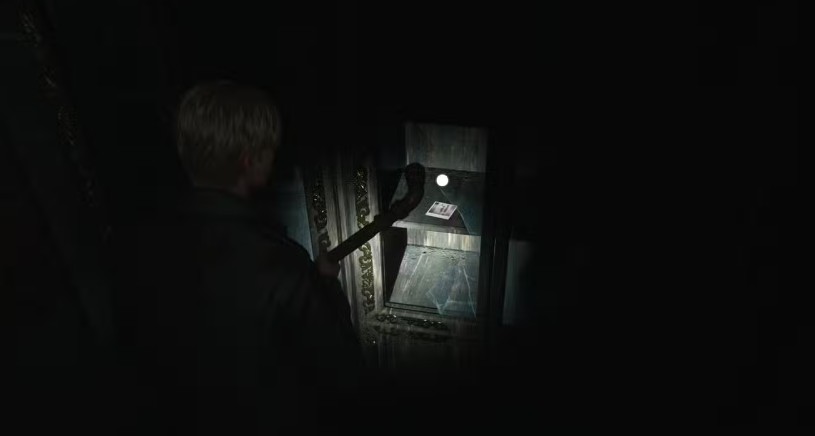
Strange Photo #17 – “The New Clock”
In the ground floor of the Historical Society, search the left room for a glass cabinet. Smash it to retrieve the seventeenth strange photo, “The New Clock.”
Toluca Prison – All Strange Photos
Strange Photo #18 – “Four Months to Go”
Once you’ve unlocked all cells in the Serpent Section using the Death Row Map, enter Cell E1. Destroy a breakable wall to gain access to Cell E13, where the eighteenth strange photo, “Four Months to Go,” is located on a shelf.

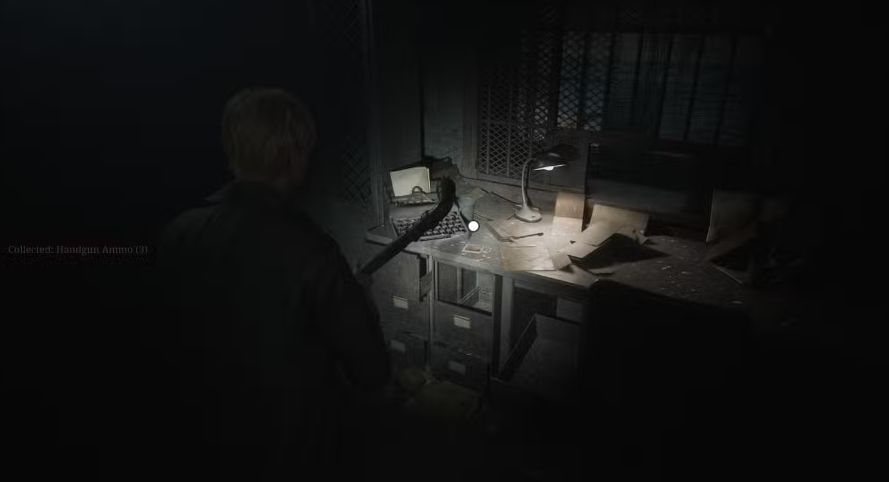
Strange Photo #19 – “Old Man’s Always Prepared”
Solve the Eyeless Boar door puzzle, then head left into the Warehouse section. On a desk, you’ll find the nineteenth strange photo, “Old Man’s Always Prepared.”
Labyrinth – All Strange Photos
Strange Photo #20 – “Whole World Ahead of Us”
After progressing through the Flooded Level and escaping Pyramid Head, you’ll enter a chase room. On the right side, climb a ladder to find the twentieth strange photo, “Whole World Ahead of Us.”

Strange Photo #21 – “Your Best Buddy”
Back in the Labyrinth Center, use the rotating cube to reveal a face with symbols scratched out. Head down the stairs to discover the twenty-first strange photo, “Your Best Buddy.”

Strange Photo #22 – “Road Trip!”
After the boss fight with Eddie, exit the building and stay to the right of the path. The twenty-second strange photo, “Road Trip!” is located near a wall by a staircase.
Lakeview Hotel – All Strange Photos
Strange Photo #23 – “Aftermath…”
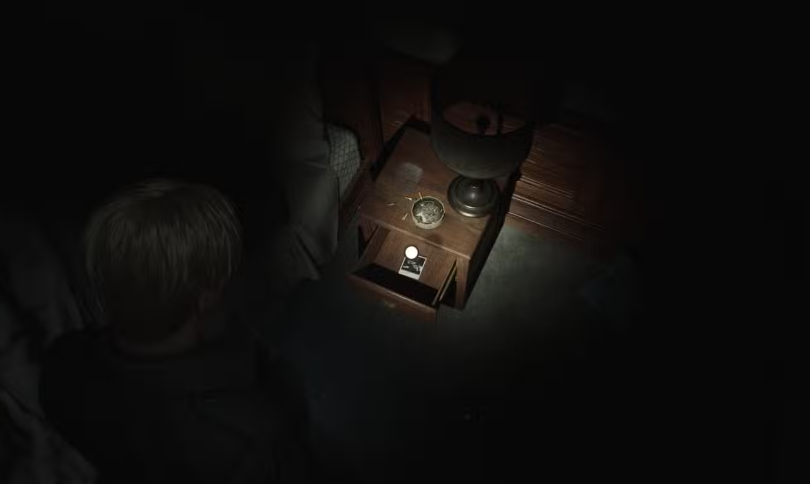
Inside Room 104 on the first floor of Lakeview Hotel, check the bedside drawer for the twenty-third strange photo, “Aftermath…”
Strange Photo #24 – “Better Leave…”
After obtaining the Venus Tears Bar Key in the Employee Section, enter the bar and check the shelf behind the bar for the twenty-fourth strange photo, “Better Leave…”

Strange Photo #25 – “Still Can’t Get It Right”
After watching the videotape cutscene, head to Room 302. Move the metal cart blocking the bathroom door to uncover the twenty-fifth strange photo, “Still Can’t Get It Right.”

Strange Photo #26 – “Shape Forces the Mind”
Following the boss fight with the two Pyramid Heads, exit the long corridor narrated by Mary. Turn right and follow the path to find the final strange photo, “Shape Forces the Mind.”

FAQ Section
How many strange photos are in Silent Hill 2 Remake? There are 26 strange photos scattered throughout the game.
What is the purpose of collecting the strange photos? Collecting all strange photos unlocks the Pieces of Unarranged trophy and provides obscure context to James’ journey.
Are any strange photos missable? Yes, some strange photos can be missed if you do not thoroughly search each chapter.
Do I need to find all strange photos to complete the game? No, finding the strange photos is not required to finish the main story, but it is essential for unlocking the Pieces of Unarranged trophy.
Where can I find the first strange photo? The first strange photo, “I’ve Been Happy,” is located in South Vale (East), near the Silent Hill Fresh Meats shop.
By following this guide, you’ll have all the information you need to collect every strange photo and claim the Pieces of Unarranged trophy.
