Starfield Shattered Space: A Comprehensive Guide to All Vortex Grenade Types
Starfield: Shattered Space introduces a plethora of new content, and one of the most exciting additions is the unique and powerful Vortex Grenades. These specialized explosives offer a variety of effects to suit different combat situations. In this guide, we’ll dive deep into all the Vortex Grenade types, how to craft them, and strategies to unlock these destructive tools. Whether you’re looking to freeze your enemies in place or summon a vortex horror to wreak havoc, this article will help you navigate through all the Vortex Grenade options in Starfield: Shattered Space.
What Are Vortex Grenades?
Vortex Grenades are a category of throwable explosives in Starfield: Shattered Space, each with its own unique ability. Unlike regular grenades, Vortex Grenades offer enhanced tactical options, allowing you to manipulate the battlefield in creative ways. From freezing enemies to summoning dangerous creatures, these grenades are indispensable tools for players who enjoy dynamic combat strategies.
Let’s break down all the Vortex Grenade types, how you can unlock and craft them, and when to use each one for maximum impact.
All Vortex Grenade Types in Starfield
In total, there are five distinct Vortex Grenades that you can craft. Each grenade serves a specific purpose, and understanding their differences is crucial for optimizing your gameplay.
1. Vortex Grenade – Binding
- Physical Damage: 1
- Mass: 0.20
- Value: 600 credits
- Effect: Freezes enemies within the explosion radius, immobilizing them for a short time.
The Binding Vortex Grenade is perfect for crowd control. When enemies are swarming you, throwing one of these will stop them in their tracks, giving you a chance to regroup or take them out with ease.
2. Vortex Grenade – Charged
- Physical Damage: 56
- Energy Damage: 85
- Mass: 0.20
- Value: 600 credits
- Effect: Functions similarly to a conventional grenade, dealing a hefty amount of damage upon impact.
If you’re looking for sheer damage output, the Charged Vortex Grenade is your go-to option. It’s straightforward and effective, making it an excellent choice when you need to quickly clear out a group of enemies.
3. Vortex Grenade – Lure
- Physical Damage: 2
- Mass: 0.20
- Value: 800 credits
- Effect: Summons a Vortex Horror, a powerful creature that attacks nearby enemies.
The Lure Vortex Grenade is ideal when you want to turn the tide of battle. The summoned Vortex Horror not only deals damage but also serves as a distraction, allowing you to flank enemies or retreat to a safer position.

4. Vortex Grenade – Phasing
- Physical Damage: 1
- Mass: 0.20
- Value: 800 credits
- Effect: Phases out enemies within the explosion radius, temporarily removing them from combat.
For those who prefer a more tactical approach, the Phasing Vortex Grenade offers a unique advantage. By phasing out enemies, you can reduce the number of active threats on the battlefield, giving you a momentary edge.
5. Vortex Grenade – Unstable
- Physical Damage: 1
- Mass: 0.20
- Value: 600 credits
- Effect: Produces unpredictable effects, ranging from freezing enemies to causing massive explosions.
If you’re feeling adventurous, the Unstable Vortex Grenade adds an element of surprise to your combat strategy. While the results can be unpredictable, the potential for devastating effects makes it worth the risk.
How to Craft Vortex Grenades
Crafting Vortex Grenades in Starfield: Shattered Space is relatively straightforward once you’ve unlocked the recipes. You’ll need an Industrial Workbench, which can be found in several locations across the galaxy or built at one of your outposts.
Crafting Locations:
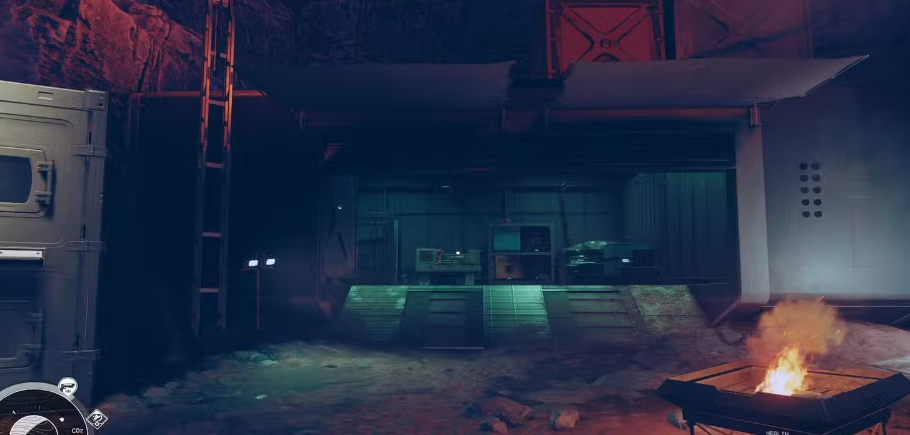
- Dazra: Find an Industrial Workbench inside Hollow Bluff Depot during the “A House Divided” quest.
- Your Ship: You can craft a workbench in your ship if you have the appropriate resources.
- Outposts: Set up a workbench at any of your outposts for easier access.
- The Lodge in Jemison: There’s an Industrial Workbench located in the basement.
- Ship Services at The Key: Another reliable location to find a workbench.
Materials Needed for Each Grenade:
- Vortex Grenade – Binding:
- Dark Vortex Cyst x1
- Vortex Shard x1
- Vortex Grenade – Charged:
- Vortex Shard x1
- Glowing Vortex Cyst x1
- Vortex Grenade – Lure:
- Vortex Shard x1
- Dark Vortex Cyst x1
- Vortex Cyst x1
- Vortex Grenade – Phasing:
- Vortex Shard x1
- Glowing Vortex Cyst x1
- Vortex Cyst x1
- Vortex Grenade – Unstable:
- Vortex Shard x1
- Vortex Cyst x1
Most of the materials, such as Vortex Shards and Cysts, can be collected by defeating Vortex Horrors and Vortex Phantoms found across Va’ruun’kai.
Unlocking Vortex Grenades
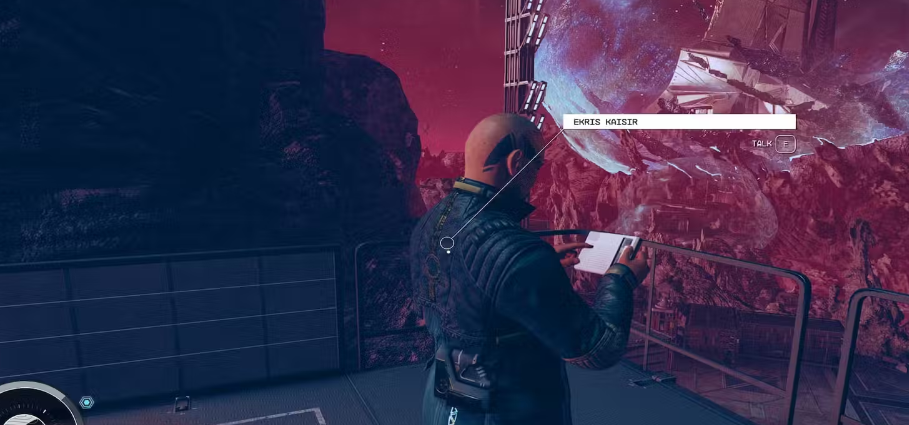
To unlock the ability to craft all five Vortex Grenades, you must progress through the Shattered Space DLC storyline until you reach the quest “The Promised, Broken.” After completing this quest, speak with Ekris Kaisir, who will provide you with the crafting recipes for the grenades.
Steps to Unlock:
- Start the Shattered Space DLC: Progress through the story until you reach the quest “What Remains.”
- Finish the Quest: Upon completing the quest, interact with Ekris Kaisir.
- Request Help: During your conversation, choose the dialogue option that asks for assistance, and you’ll be rewarded with the grenade recipes.
Best Situations to Use Each Vortex Grenade
Choosing the right Vortex Grenade for the situation can significantly impact your combat effectiveness. Let’s explore when and why to use each type.
- Vortex Grenade – Binding: This grenade is best used when you’re facing multiple enemies at close range. Freezing enemies in place gives you the opportunity to either eliminate them one by one or escape a tight spot.
- Vortex Grenade – Charged: Opt for the Charged grenade when you need raw damage. Whether you’re clearing out a room or softening up a group of enemies before moving in, its explosive power makes it a reliable choice.
- Vortex Grenade – Lure: Perfect for boss fights or large-scale encounters, the Lure grenade allows you to distract and damage enemies with a summoned Vortex Horror. Use it when you need to control the battlefield.
- Vortex Grenade – Phasing: If you’re being overwhelmed, the Phasing grenade can be a lifesaver. Temporarily phasing out enemies buys you valuable time to recover or reposition.
- Vortex Grenade – Unstable: Feeling bold? The Unstable grenade offers unpredictable results that can either help you dominate the fight or add an unexpected challenge. It’s great for players who enjoy a bit of chaos.
Crafting All Grenades for the “Five of a Kind” Achievement
Crafting all five Vortex Grenades not only enhances your combat versatility but also rewards you with the Five of a Kind achievement, introduced in the Shattered Space DLC. This achievement is a badge of honour, showcasing your mastery of these unique explosives.
Vortex Grenades in Starfield: Shattered Space add a dynamic layer to combat, offering players a range of tactical options. Whether you’re freezing enemies, summoning horrors, or phasing out foes, these grenades provide endless possibilities for creative strategies. By mastering the art of crafting and utilizing Vortex Grenades, you’ll have the upper hand in any battle Starfield throws your way.
So, what are you waiting for? Unlock, craft, and dominate the galaxy with your newfound explosive arsenal!